
Resourceful Cardboard
From Cardoard Box To Sculptural Lamp Shade
Do you remember last project? The study/guest room with the hideaway bed? In that room I created a little reading corner and I wanted to bring the central ceiling light to that corner as reading lamp. My client decided they wanted to be creative with making a lampshade themselves and asked if I had some ideas. I wanted a lampshade that reflected the character of the room and the identity of the project. I suggested this and sent them the instructions. And I am glad I did as I really love the end result.

So if you wish to replicate, materials needed are: a (huge) cardboard box, strong scissors, a pen, a craft knife, hot glue pen, two pieces of wood (for easily cut to width and length without having to pre-draw lines), a backing surface to cut against.

First, cut the cardboard box in its basic elements, which means, opening it up and cutting along any fold lines, so that all the pieces so created would be fold-free. These elements are then cut into strips. Pull off all the 'doubling' of the cardboard, where the box sides were glued together, so the cutting would be easier. Discard any tatty piece, where for example there is packing tape or other major labels... also remove any ends that has been squashed and does not look nice. The one thing to remember all these pieces do not need to be perfect because when they are being stacked up together there is some margins for hiding cattiness by strategically placing it where it will not be seen (i.e. towards the inside of the shade).
Below is a slideshow of the (quite tedious, but worth the assle) process...


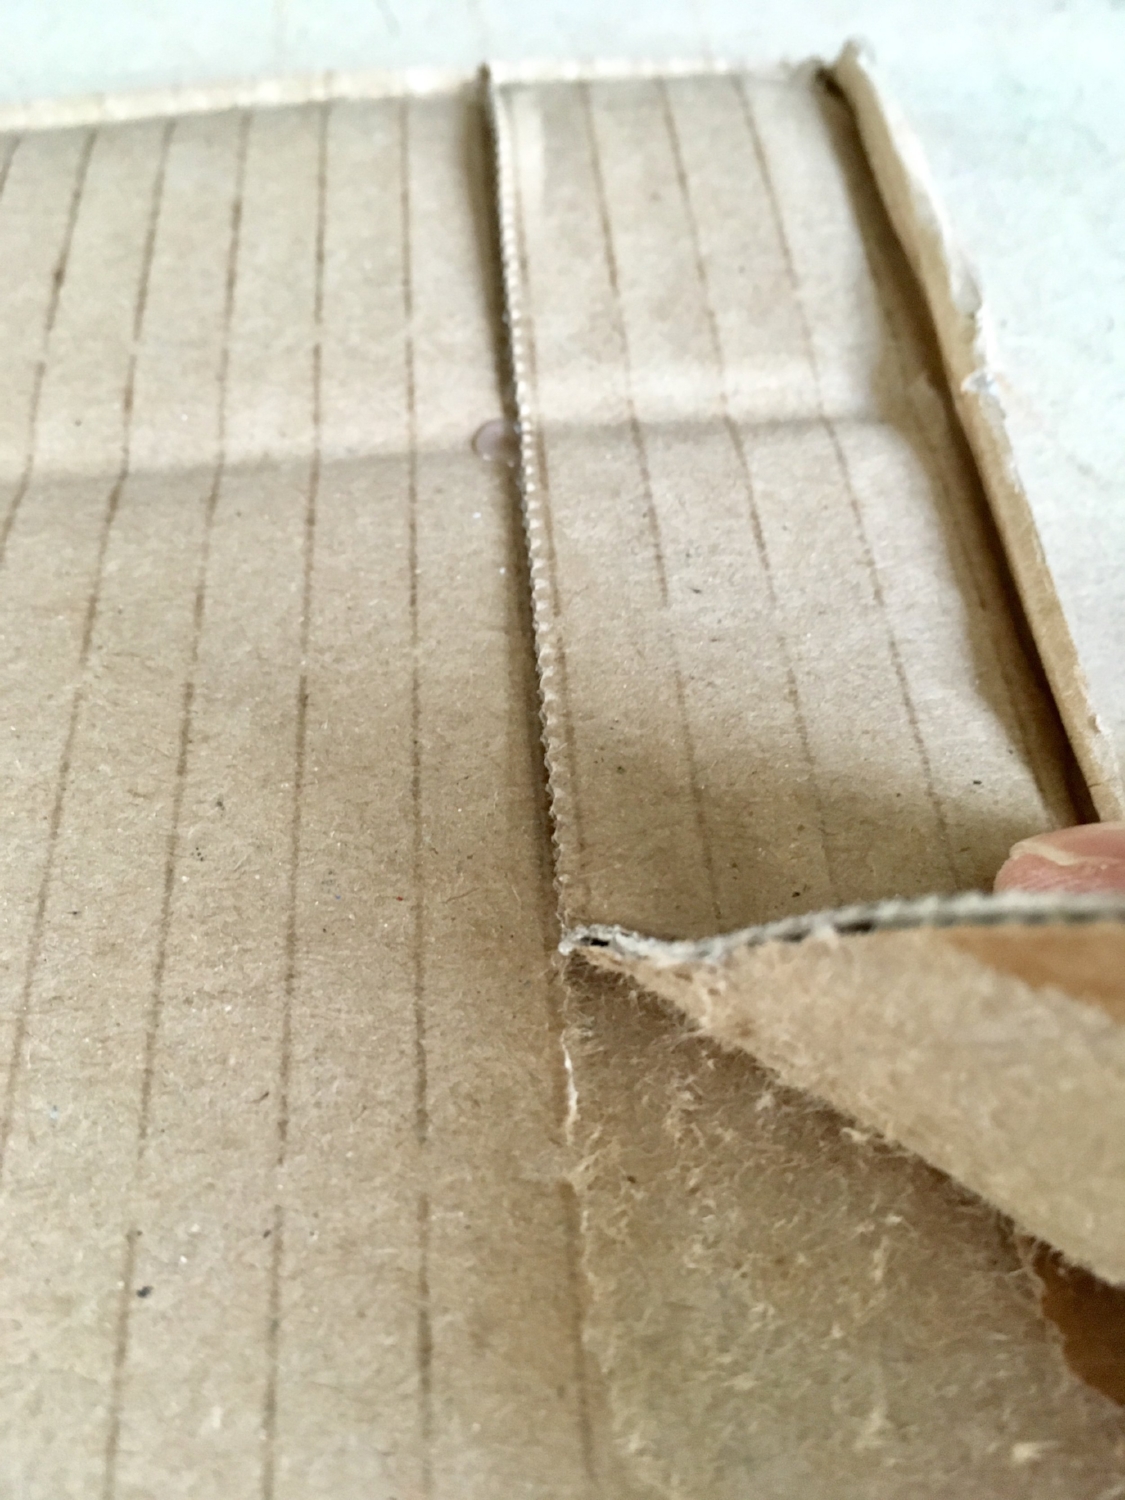

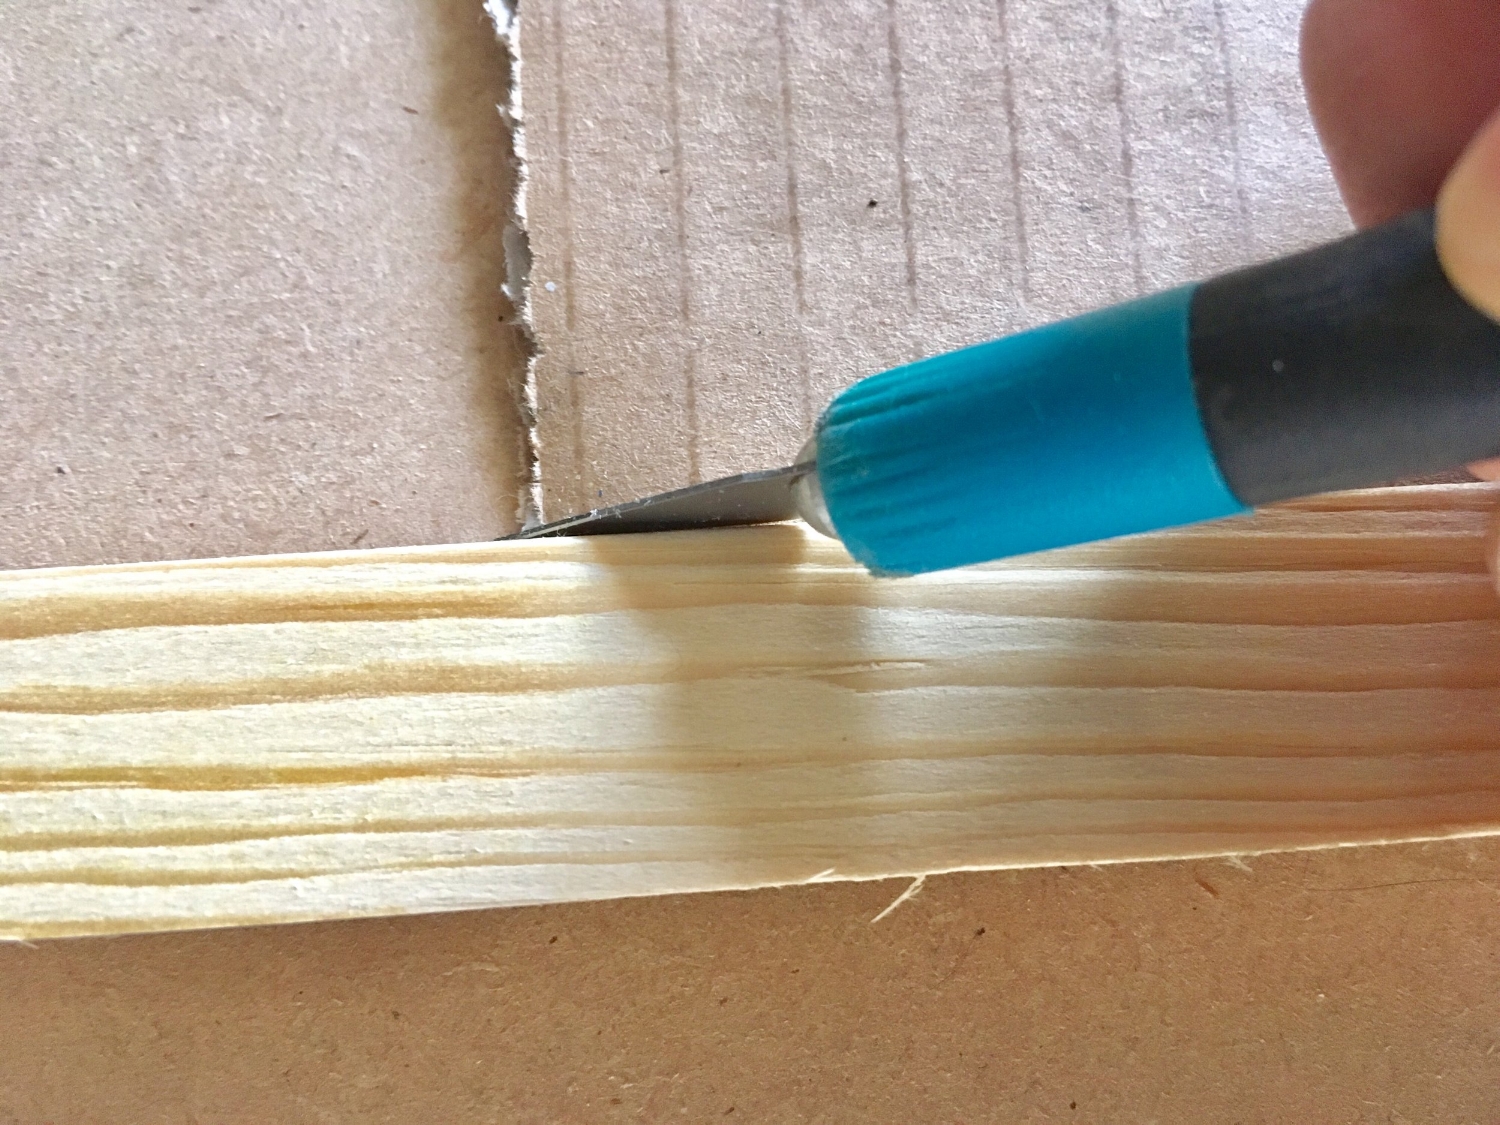
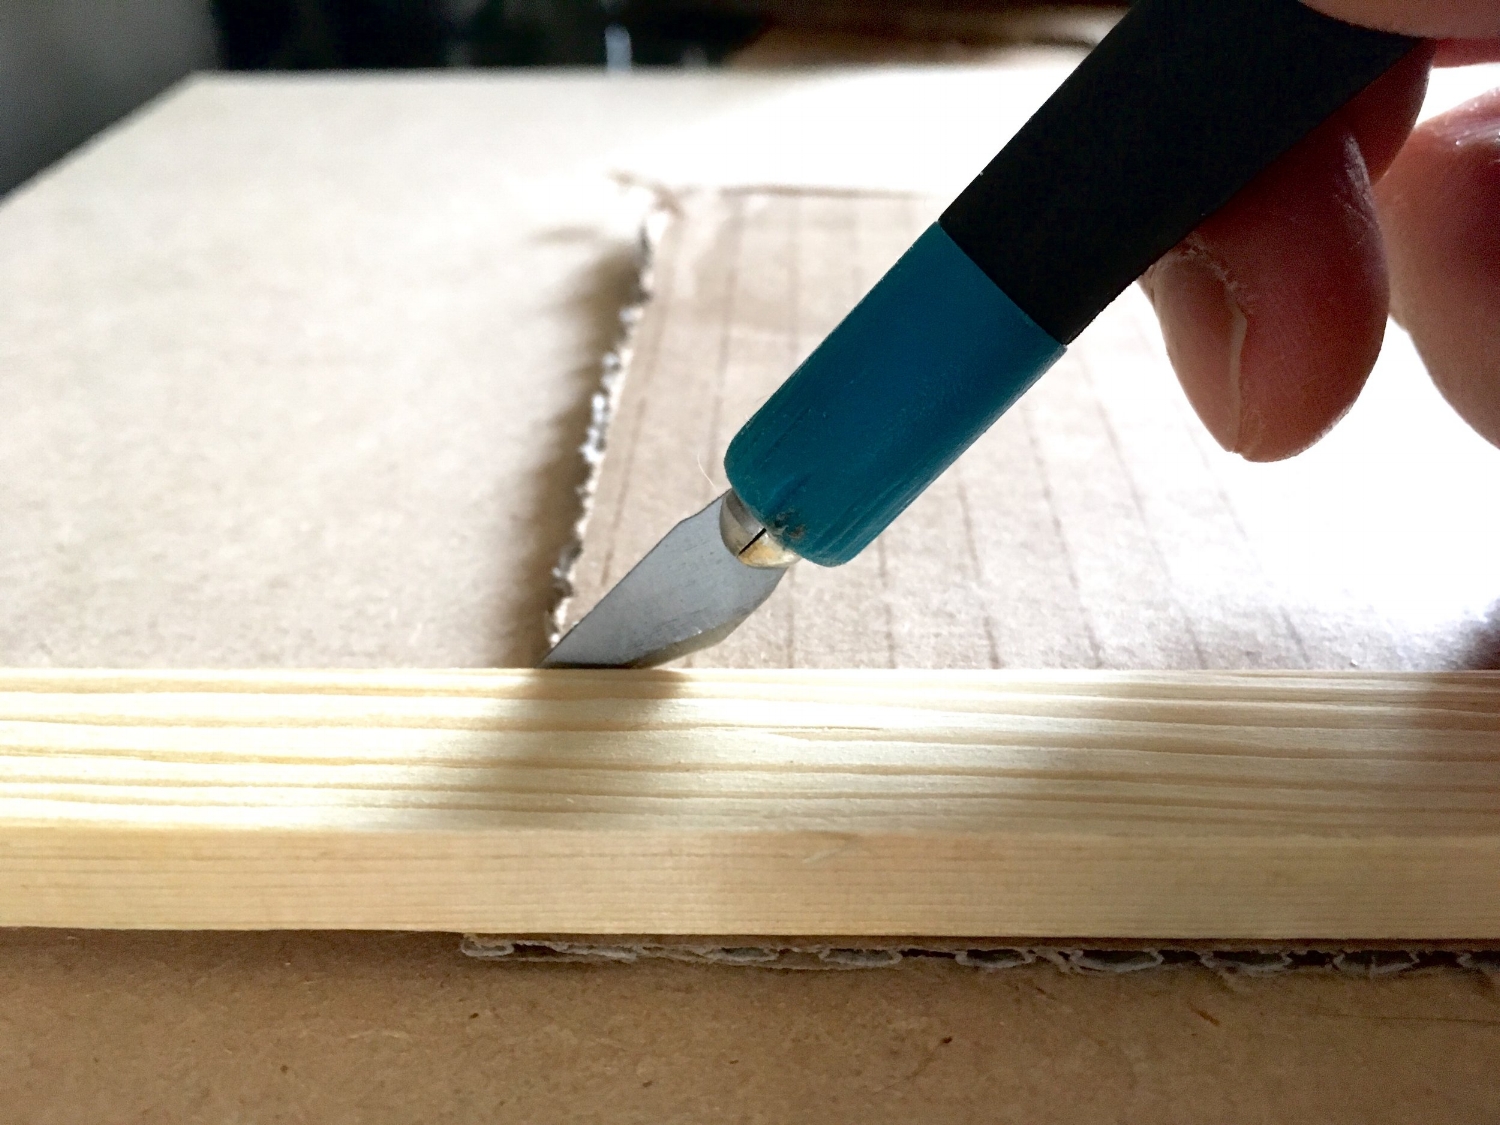


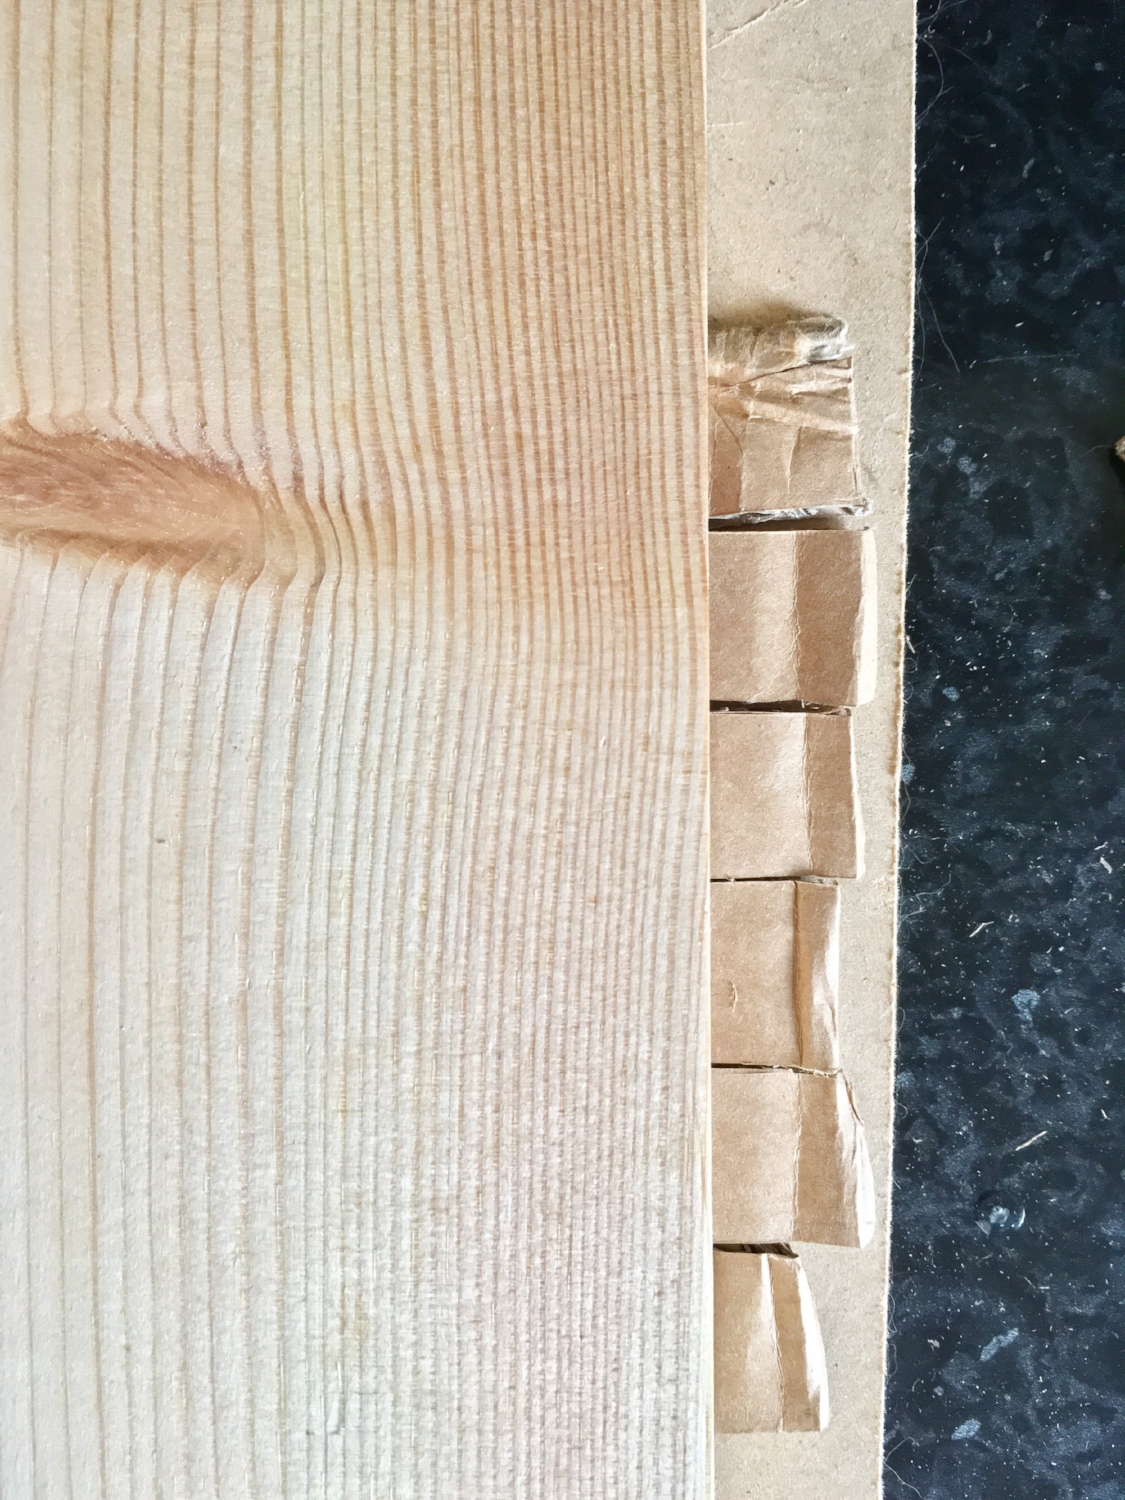

It is important however for the strips to be exactly the same length as during assembly they need to align (ending up with different length strips will compromise the result).

The number of strips needed will vary with the size of the lamp. As a rule of thumb: the smaller the pentagon you start from, the fewer you will need, because of relative proportions. To give you an idea though, if you start off with a pentagon side of 16.5cm you will have to make 59 rows (hence you will need 295 strips). Naturally the number of strips needed will be affected also by the type of cardboard used: the thicker the cardboard the fewer the number of rows and therefore the fewer the strips needed... I am sure this is obvious, but it might be worth pointing out.
The next step is to put together the starting base: cut the pentagon which will form the top of the lampshade.
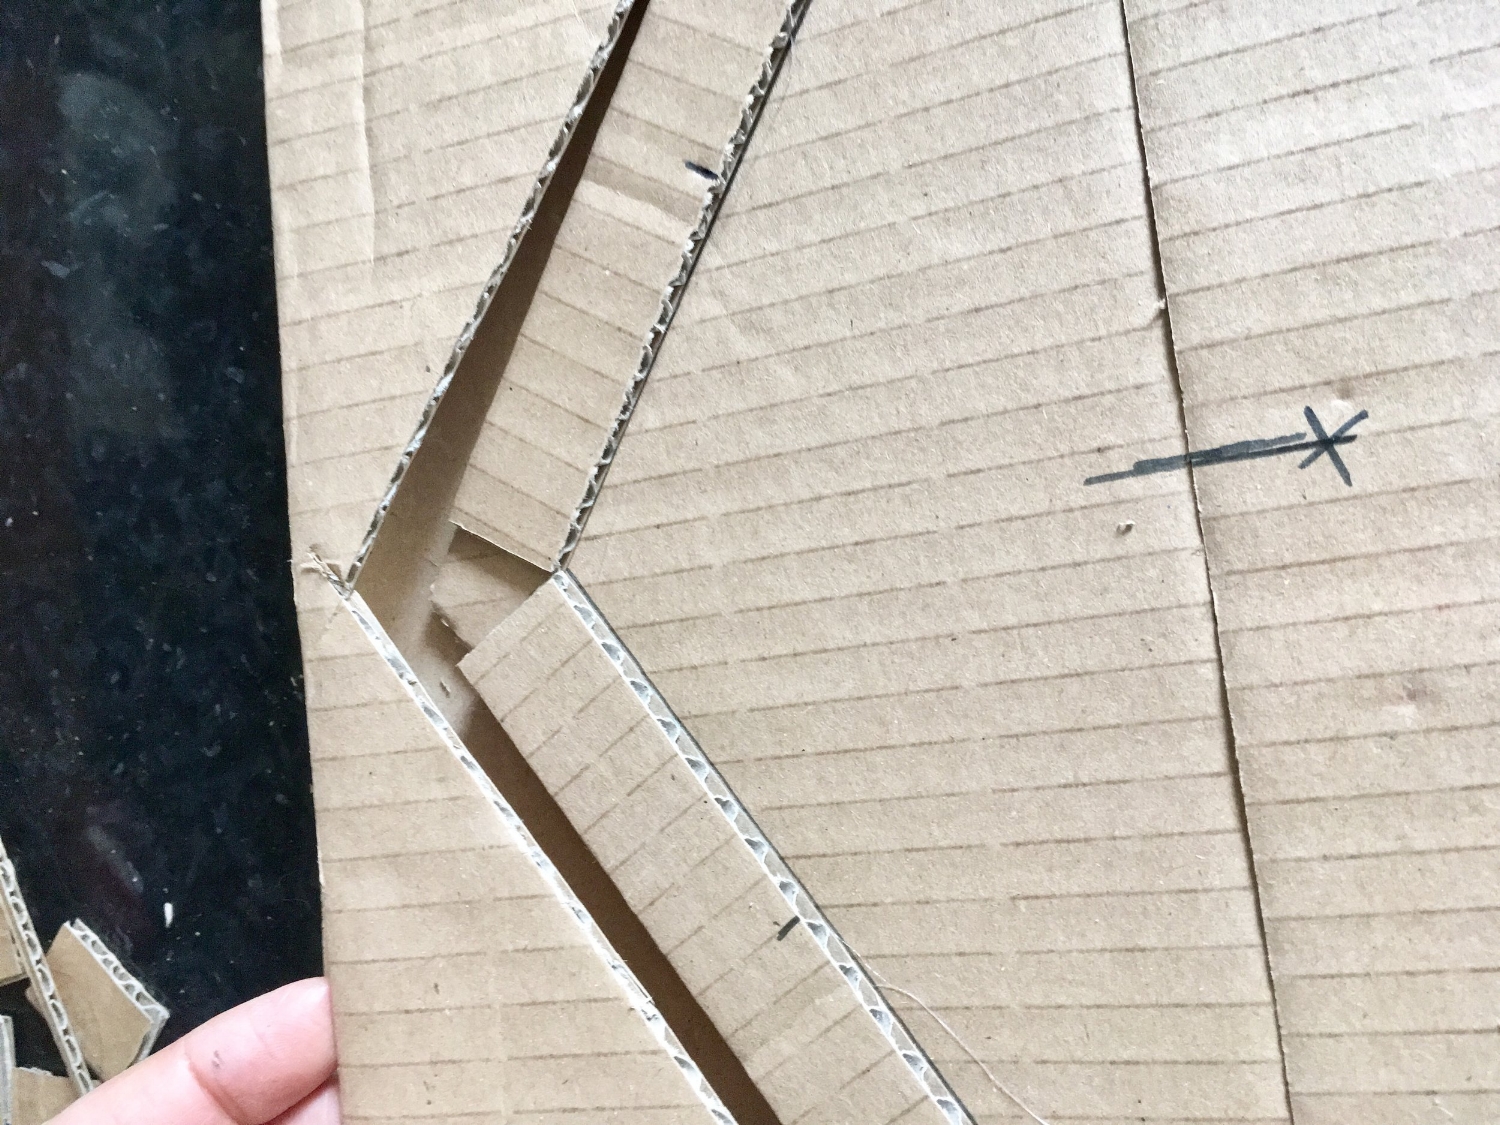
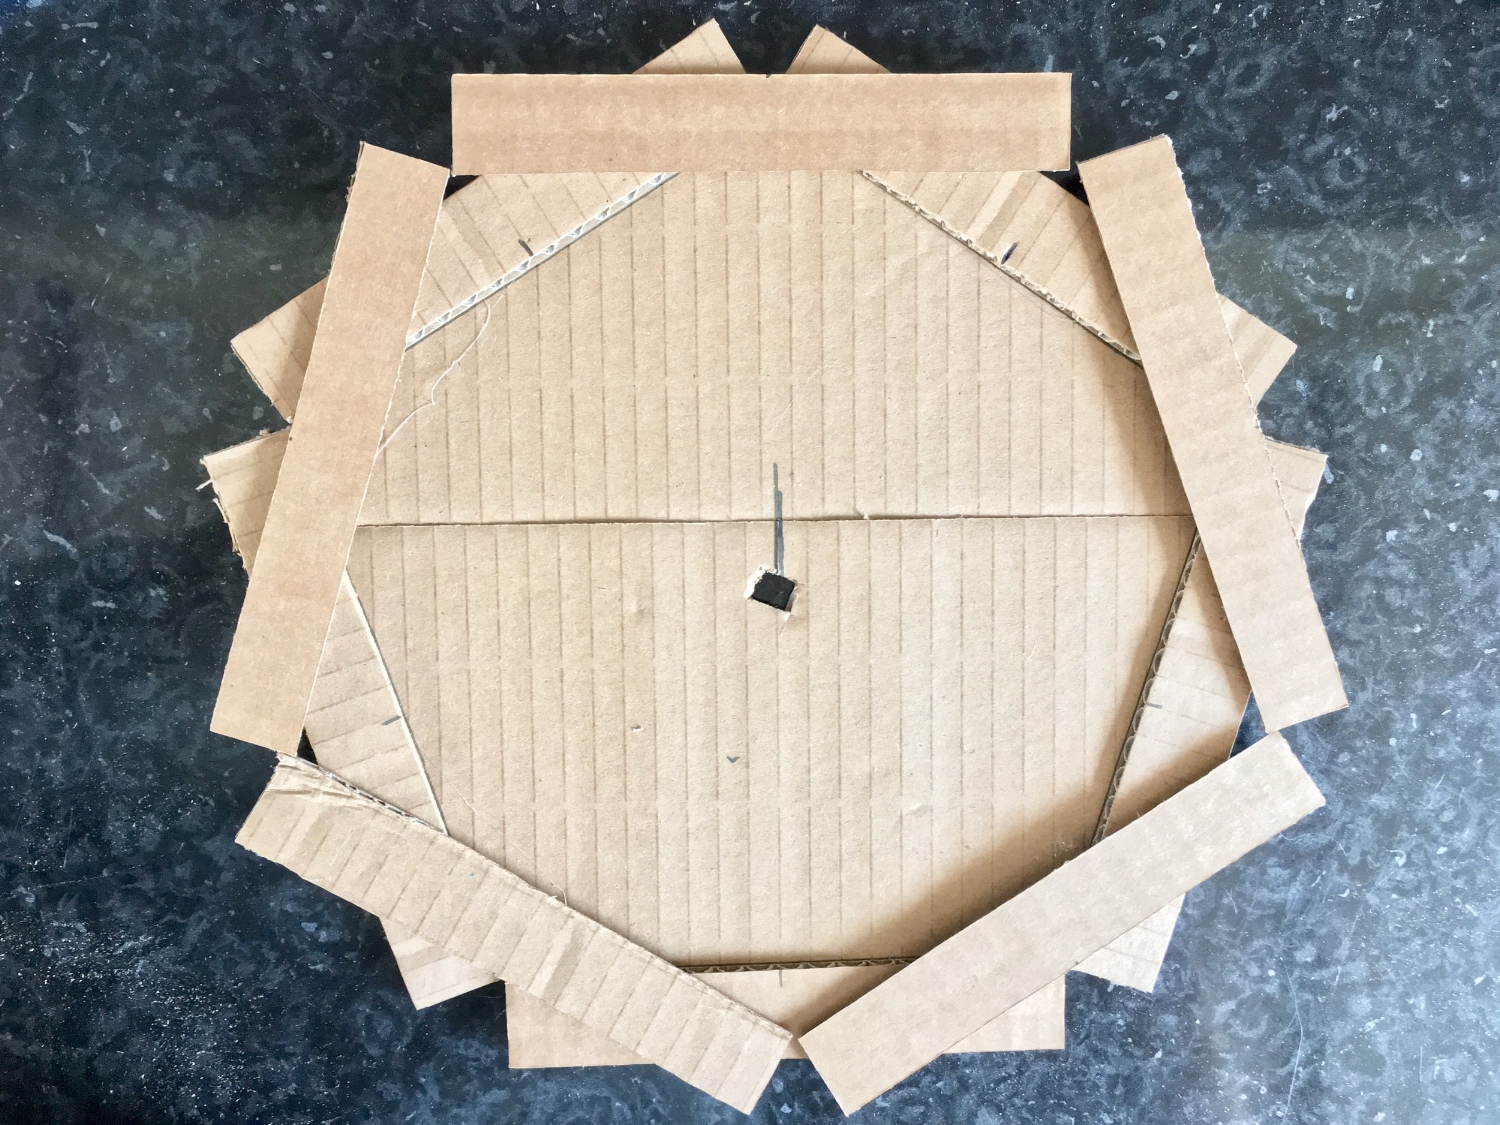
Instead of drawing a perfect pentagon following the rules of geometry, you can cheat: start by arranging 5 strips on a big flat piece of cardboard, until the shape ‘looks’ correct. To help the process mark the half point of each strip so that it has some reference point to go by. Then align the marked ‘strips centres’ on one side of the pentagon with the point in which two strip touch at the opposite side. The image below should clarify what I mean (please ignore the folding line in the middle of the cardboard the cardboard should be solid as it will constitute the ‘top’ of the lamp shade).

At this stage, if your cardboard is quite thin and flimsy, you will need to double up the base so that the top of your lamp is strong enough. Next step is to glue the first five sides onto this big base. The slideshow below shows how I did this: after arranging in a symmetrical pentagon, mark the placement of each of the five pieces, so that when you lift them up to place the hot glue, you do not lose the exact placement. Once the first pieces are glued down it is time to find the centre where to cut a hole for the cable. To find the exact point (and if you cheated the creation of the pentagon) align a ruler between mid line of each piece to the opposite corner and mark around the centre of the pentagon. Do this a couple of times more to have the exact centre of the pentagon.


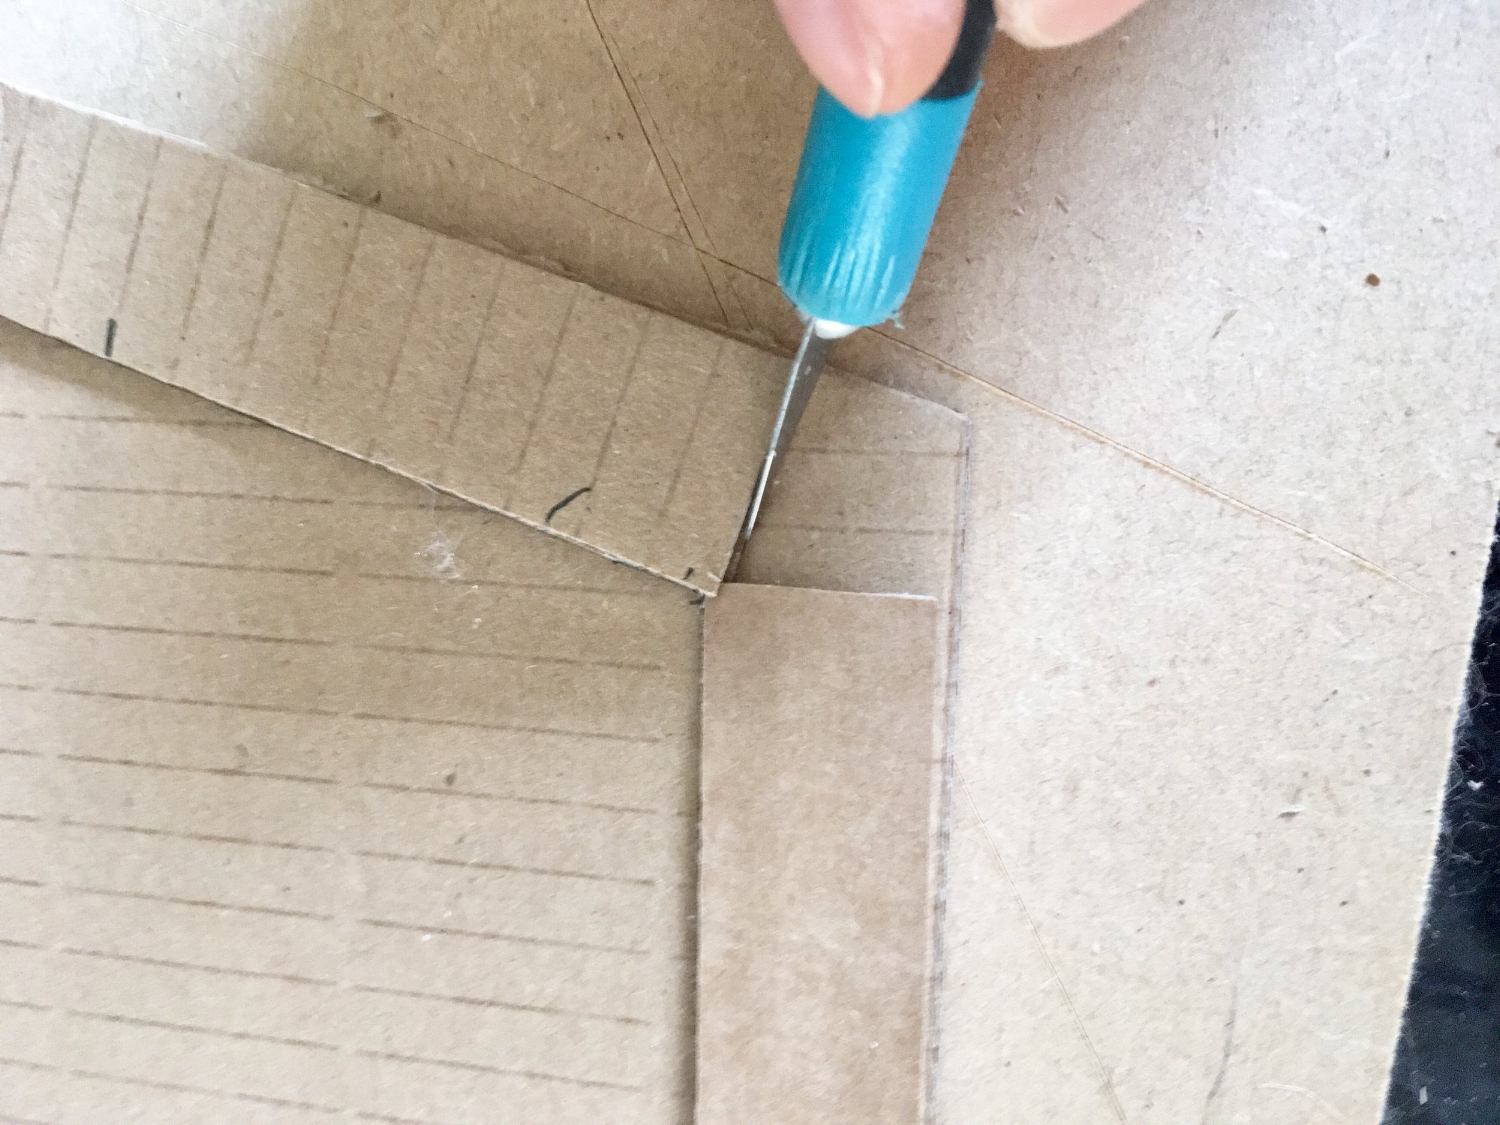


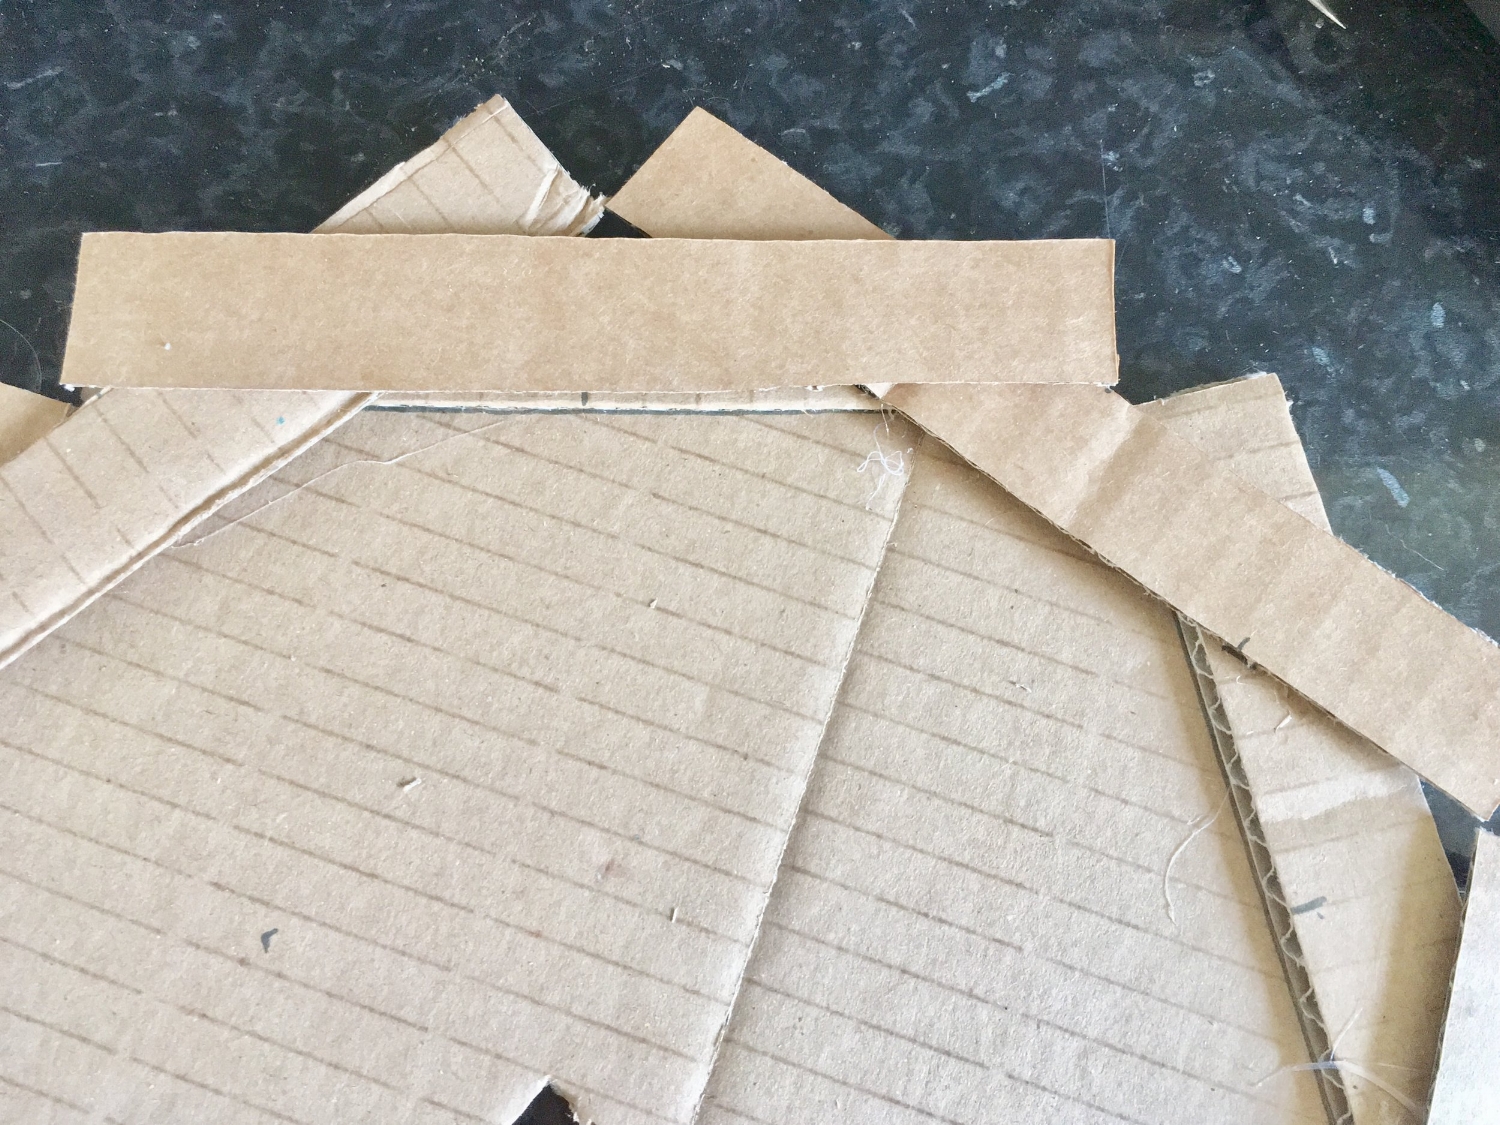
Cut a hole in the middle, big enough for just the cable to pass through. At this point, cut the excess of cardboard around the pentagonal shape, clean the corners, so that you are now left with the construction as in the picture below. This is now a solid base to build up from.

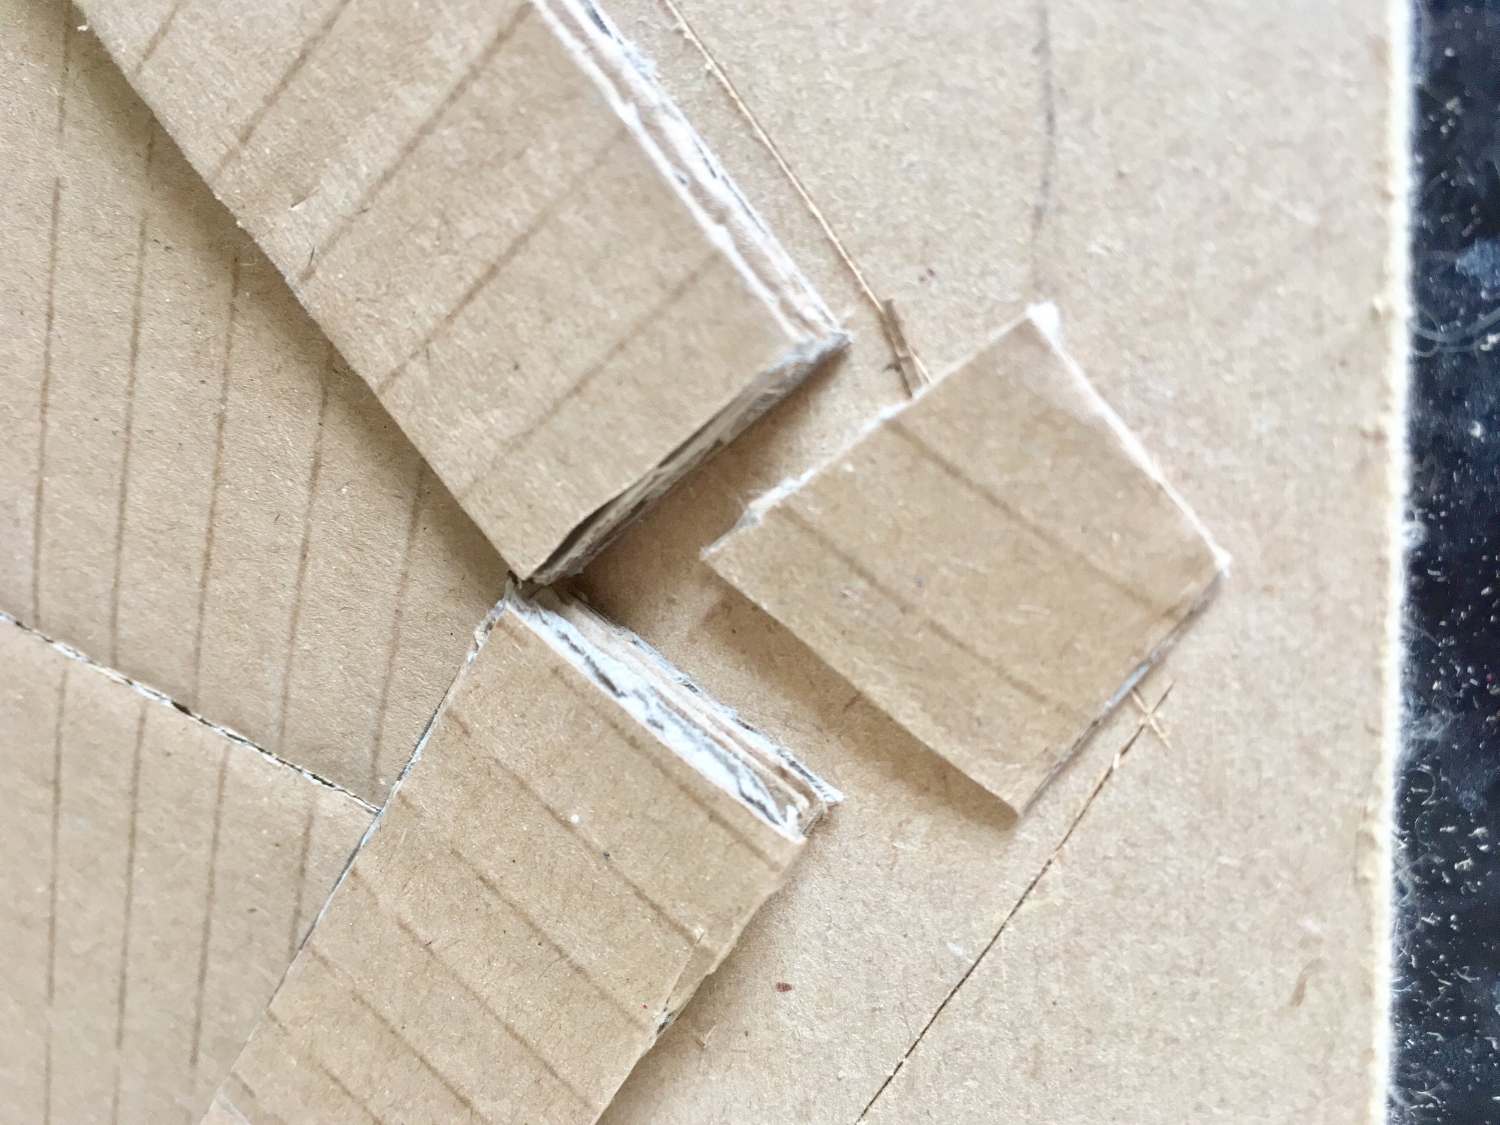
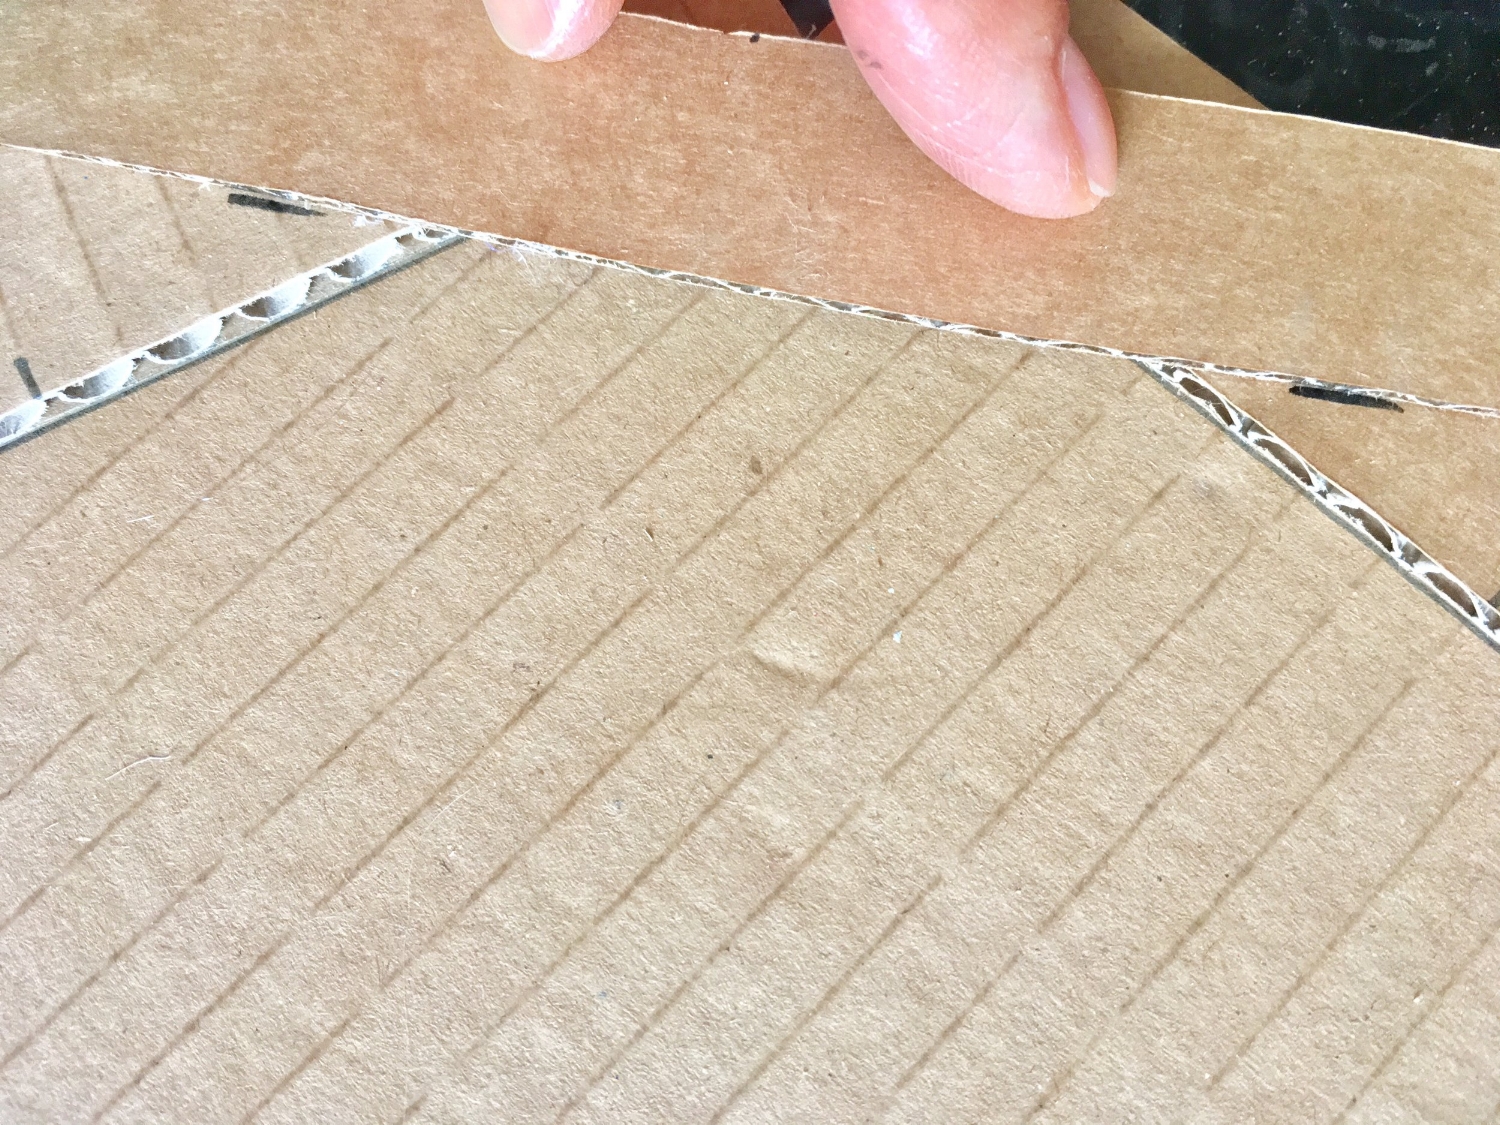
From this point on is quite straightforward: build another pentagon of strips offset so that the middle of each strip is aligned with the centre of the gap of the two touching strips laid beneath it. To do that, mark the middle of each strip and position it more or less in the gap between the strips beneath and proceeded until the five new strips are all positioned and you are happy with it. As for the layer built before: mark the position of these so that it becomes easy to glue them down without losing the overall positioning. This is the last time you will need to mark the positions: from this point on it is just a matter of aligning each strip to the strip laid two layers below.


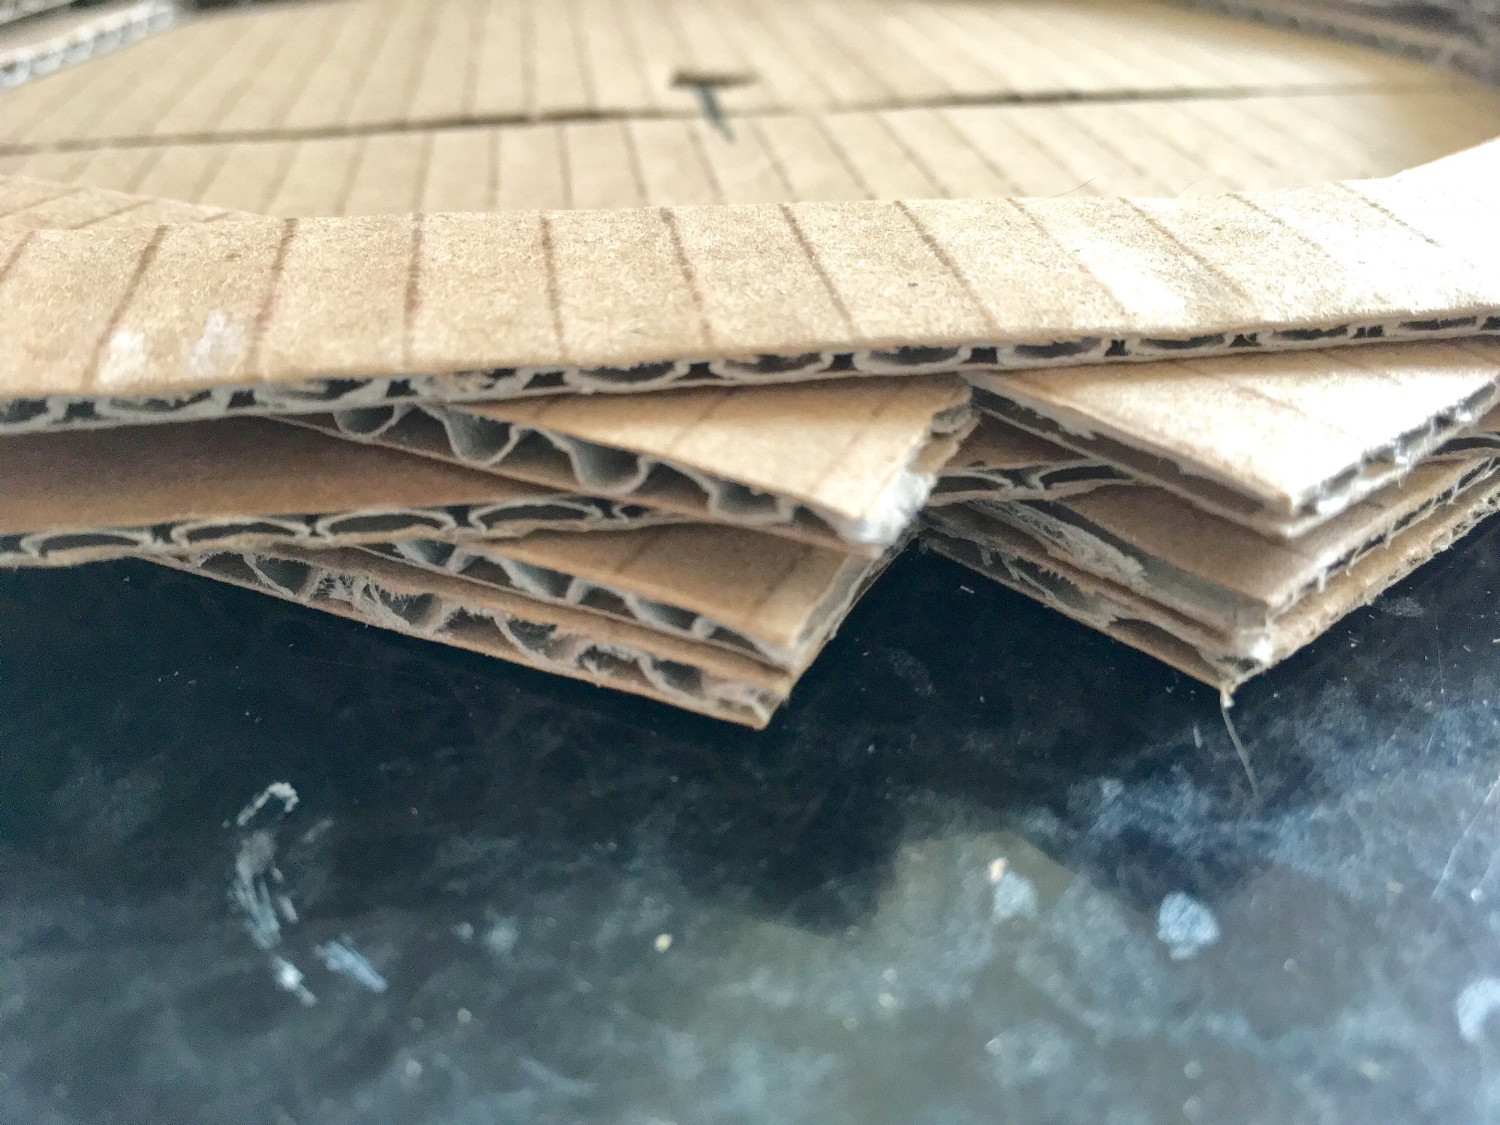

From this point on keep building up till you are happy with the overall size and proportions of the piece.
Then you can assemble it into a lampshade. Now, do you remember the ugly cable that became a feature in the "Ugly light cables get trendy" post? This thing here?

That is what I suggested to use for this lamp.
Now you will need a lamp holder, and a cable tie, and something else to go on top of the lamp that can cover the hole (be creative with this, it can be literally anything, or you can go to an electrical supply shop).

Et voila'. Lamp is finished and looking great!

Hope you like it as much as I do.
Let me know if you try it, improve it, change it, love it or hate it...
Drop me a line at valeria.romano@homepoise.com or book a 15min call with me to see how I can help you with any of your interiors spruce ups.
Valeria